
Recently, as you all know, there was a Photo Booth app launched by HootBoard. We are back again with a new app to showcase all those memorable moments captured on your kiosk.
The document contains
1) Installation of HootBoard Selfie App
2) How to approve and add selfies to the Selfie Wall?
3) How to remove selfies from the Selfie Wall?
Setting up your selfie wall is easy. First off, make sure the HootBoard Selfie app is installed for your account.
Installation of HootBoard Selfie App
1. On your board, the HootBoard Selfie Wall app is available in the Apps section on the left-hand menu.
2. In this window, open the Discover Apps to Install tab.

3. Click on Install.

How to approve and add selfies to the Selfie Wall?
1. As an admin, you can approve the selfies and add them to the wall. When you open the HootBoard Selfie Wall app, you can see two different tabs: 'Selfie Wall' and ''Selfie Approval'.
2. All the selfies clicked using HootBoard Photo Booth app on your kiosk will appear in the 'Selfie Approval' tab.

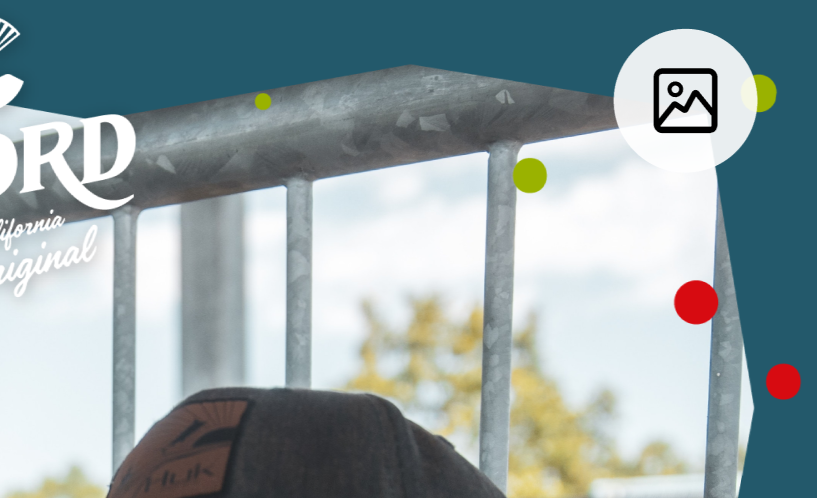
3. You can use the button with the icon ![]() on the selfie to approve the selfies. This will automatically add the selfie to the 'Selfie Wall' tab and can be seen by all your board members.
on the selfie to approve the selfies. This will automatically add the selfie to the 'Selfie Wall' tab and can be seen by all your board members.
How to remove selfies from the Selfie Wall?
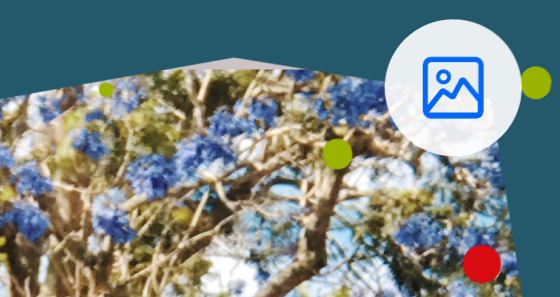
If you want to remove any selfies from the Selfie Wall, just click on the same blue icon ![]() on the selfie in the 'Selfie Wall' tab to remove it.
on the selfie in the 'Selfie Wall' tab to remove it.
Hope this helped. If you have any further questions or thoughts, please write to support@hootboard.com
Comments
0 comments
Please sign in to leave a comment.