
Video Tutorial: How to Set Up and Web App
Step-by-Step: How to setup a Collections App
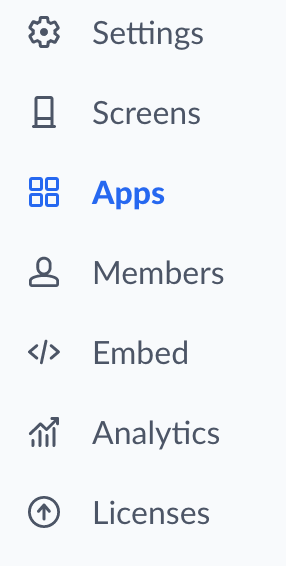
We can start the apps in the 'Apps' area of your admin platform area.
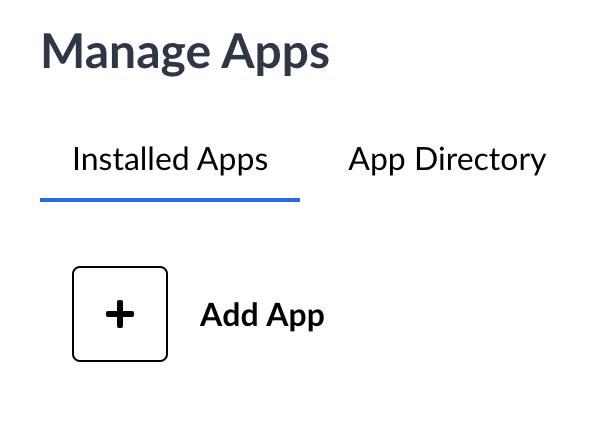
This will bring you to the 'Manage Apps' area with an 'Add App' prompt. Click the 'Add App' button.
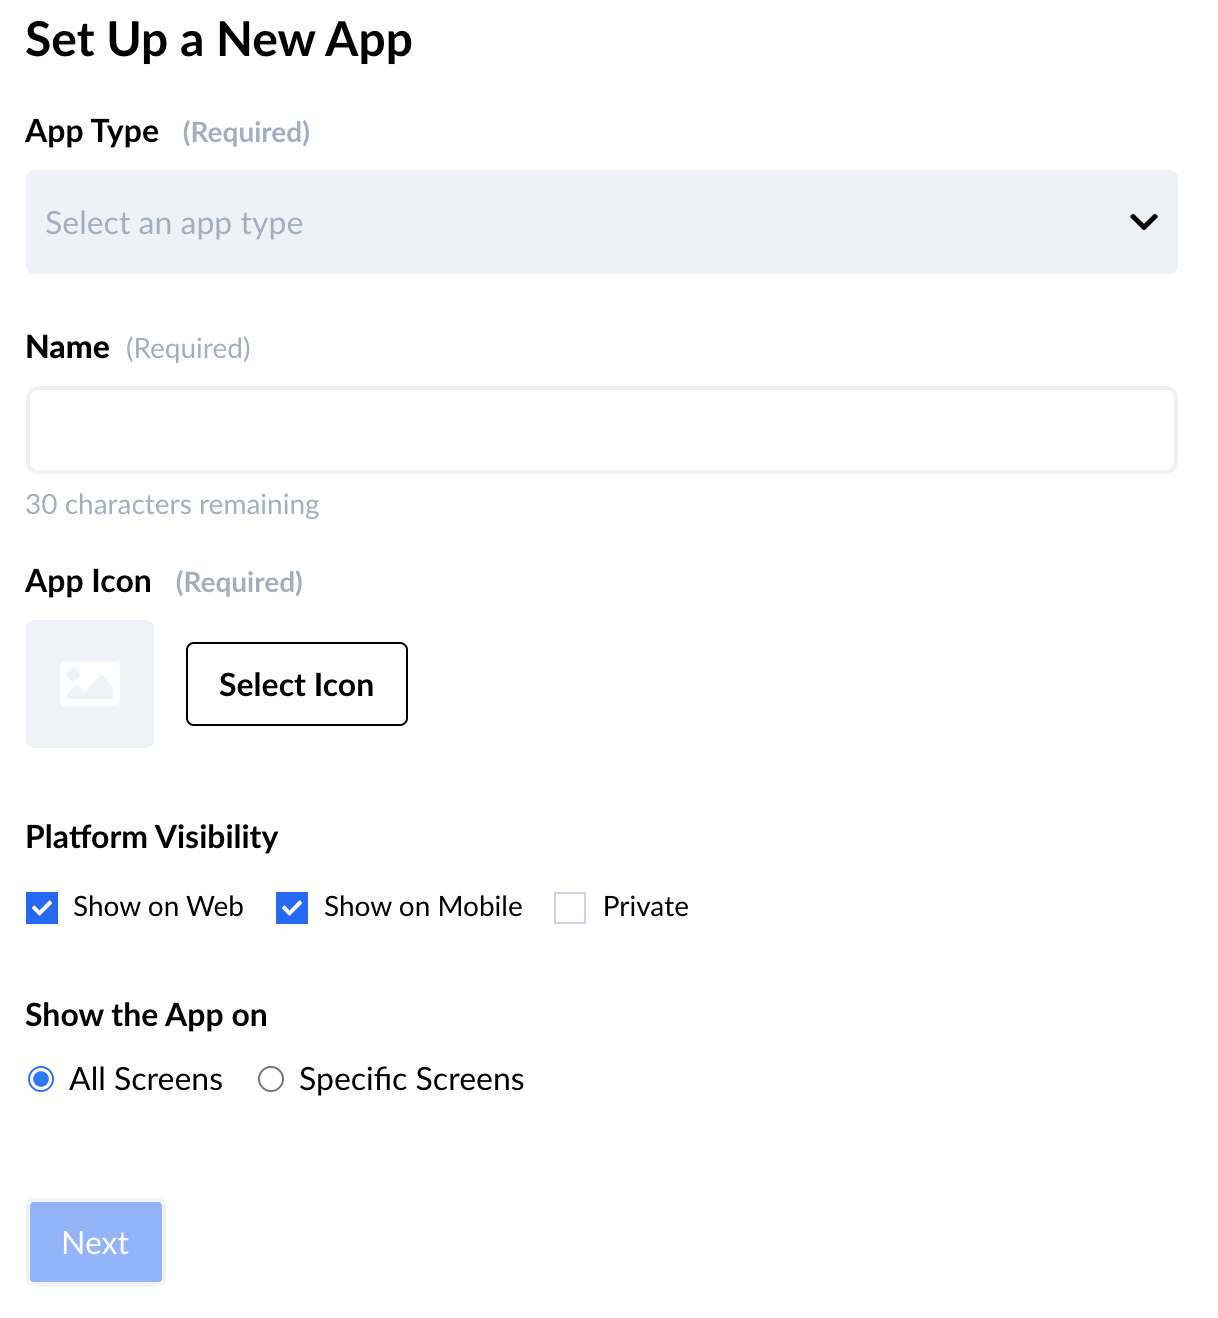
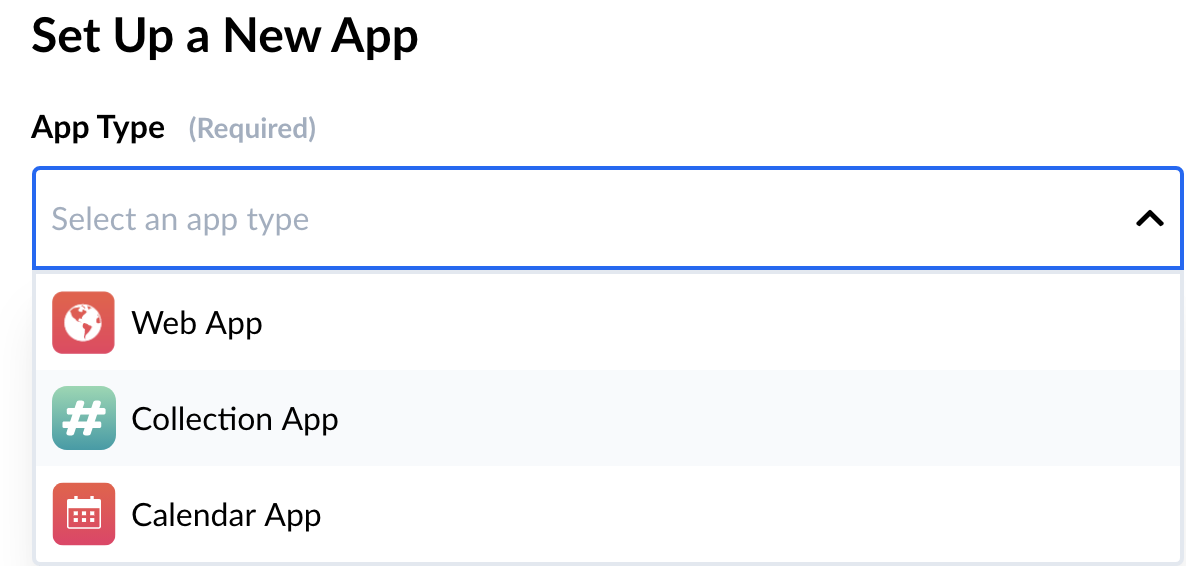
This will bring up the type of app you'll want to create. Start by clicking on the drop down menu under 'App Type.'
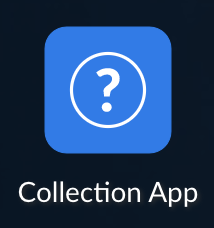
Click on the 'Collection App' selection.
We now want to add a Name to the app. In this case, I'm naming it 'Collection App' but you'll want to name is something more descriptive. Base the app name around something you are organizing like "FAQ" if you're organizing information that answers frequently asked questions, for example.

Next, you'll want to create an App Icon. There is a selection of app imagery you can use. You can also upload custom images for your apps.

For this app, I chose the Question Mark button.

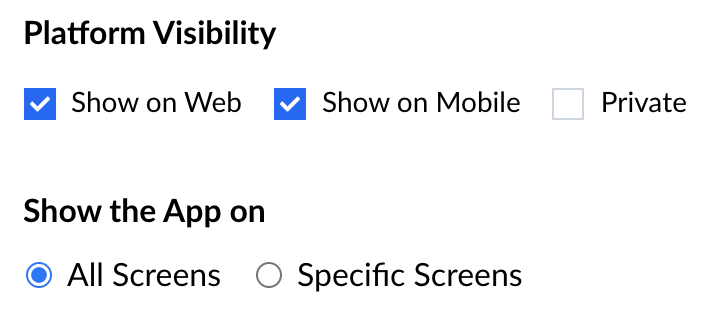
Make sure to decide how you want to present this app. Do you want it to be public or private? Or which specific screen do you want this to show on? You'll make those decisions here.
Then Click 'Next'

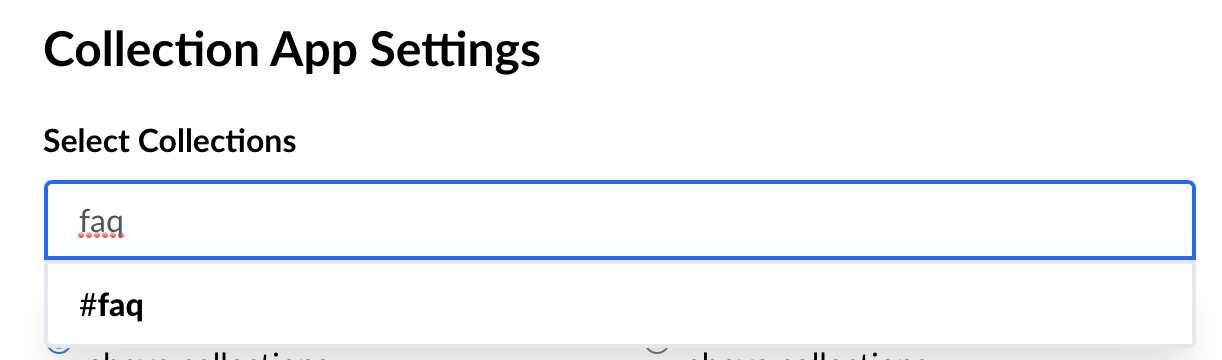
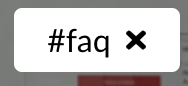
Next, we must assign a collection to the app. I would like users to be served all of the Hoots organized as FAQ when they were hooted. I've created a Collection called "faq" so I will use that.
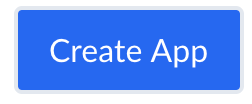
I then Create the App.
And there it is! It's in the upper area at the end of the App row. You'll see the 'Collection App' name.
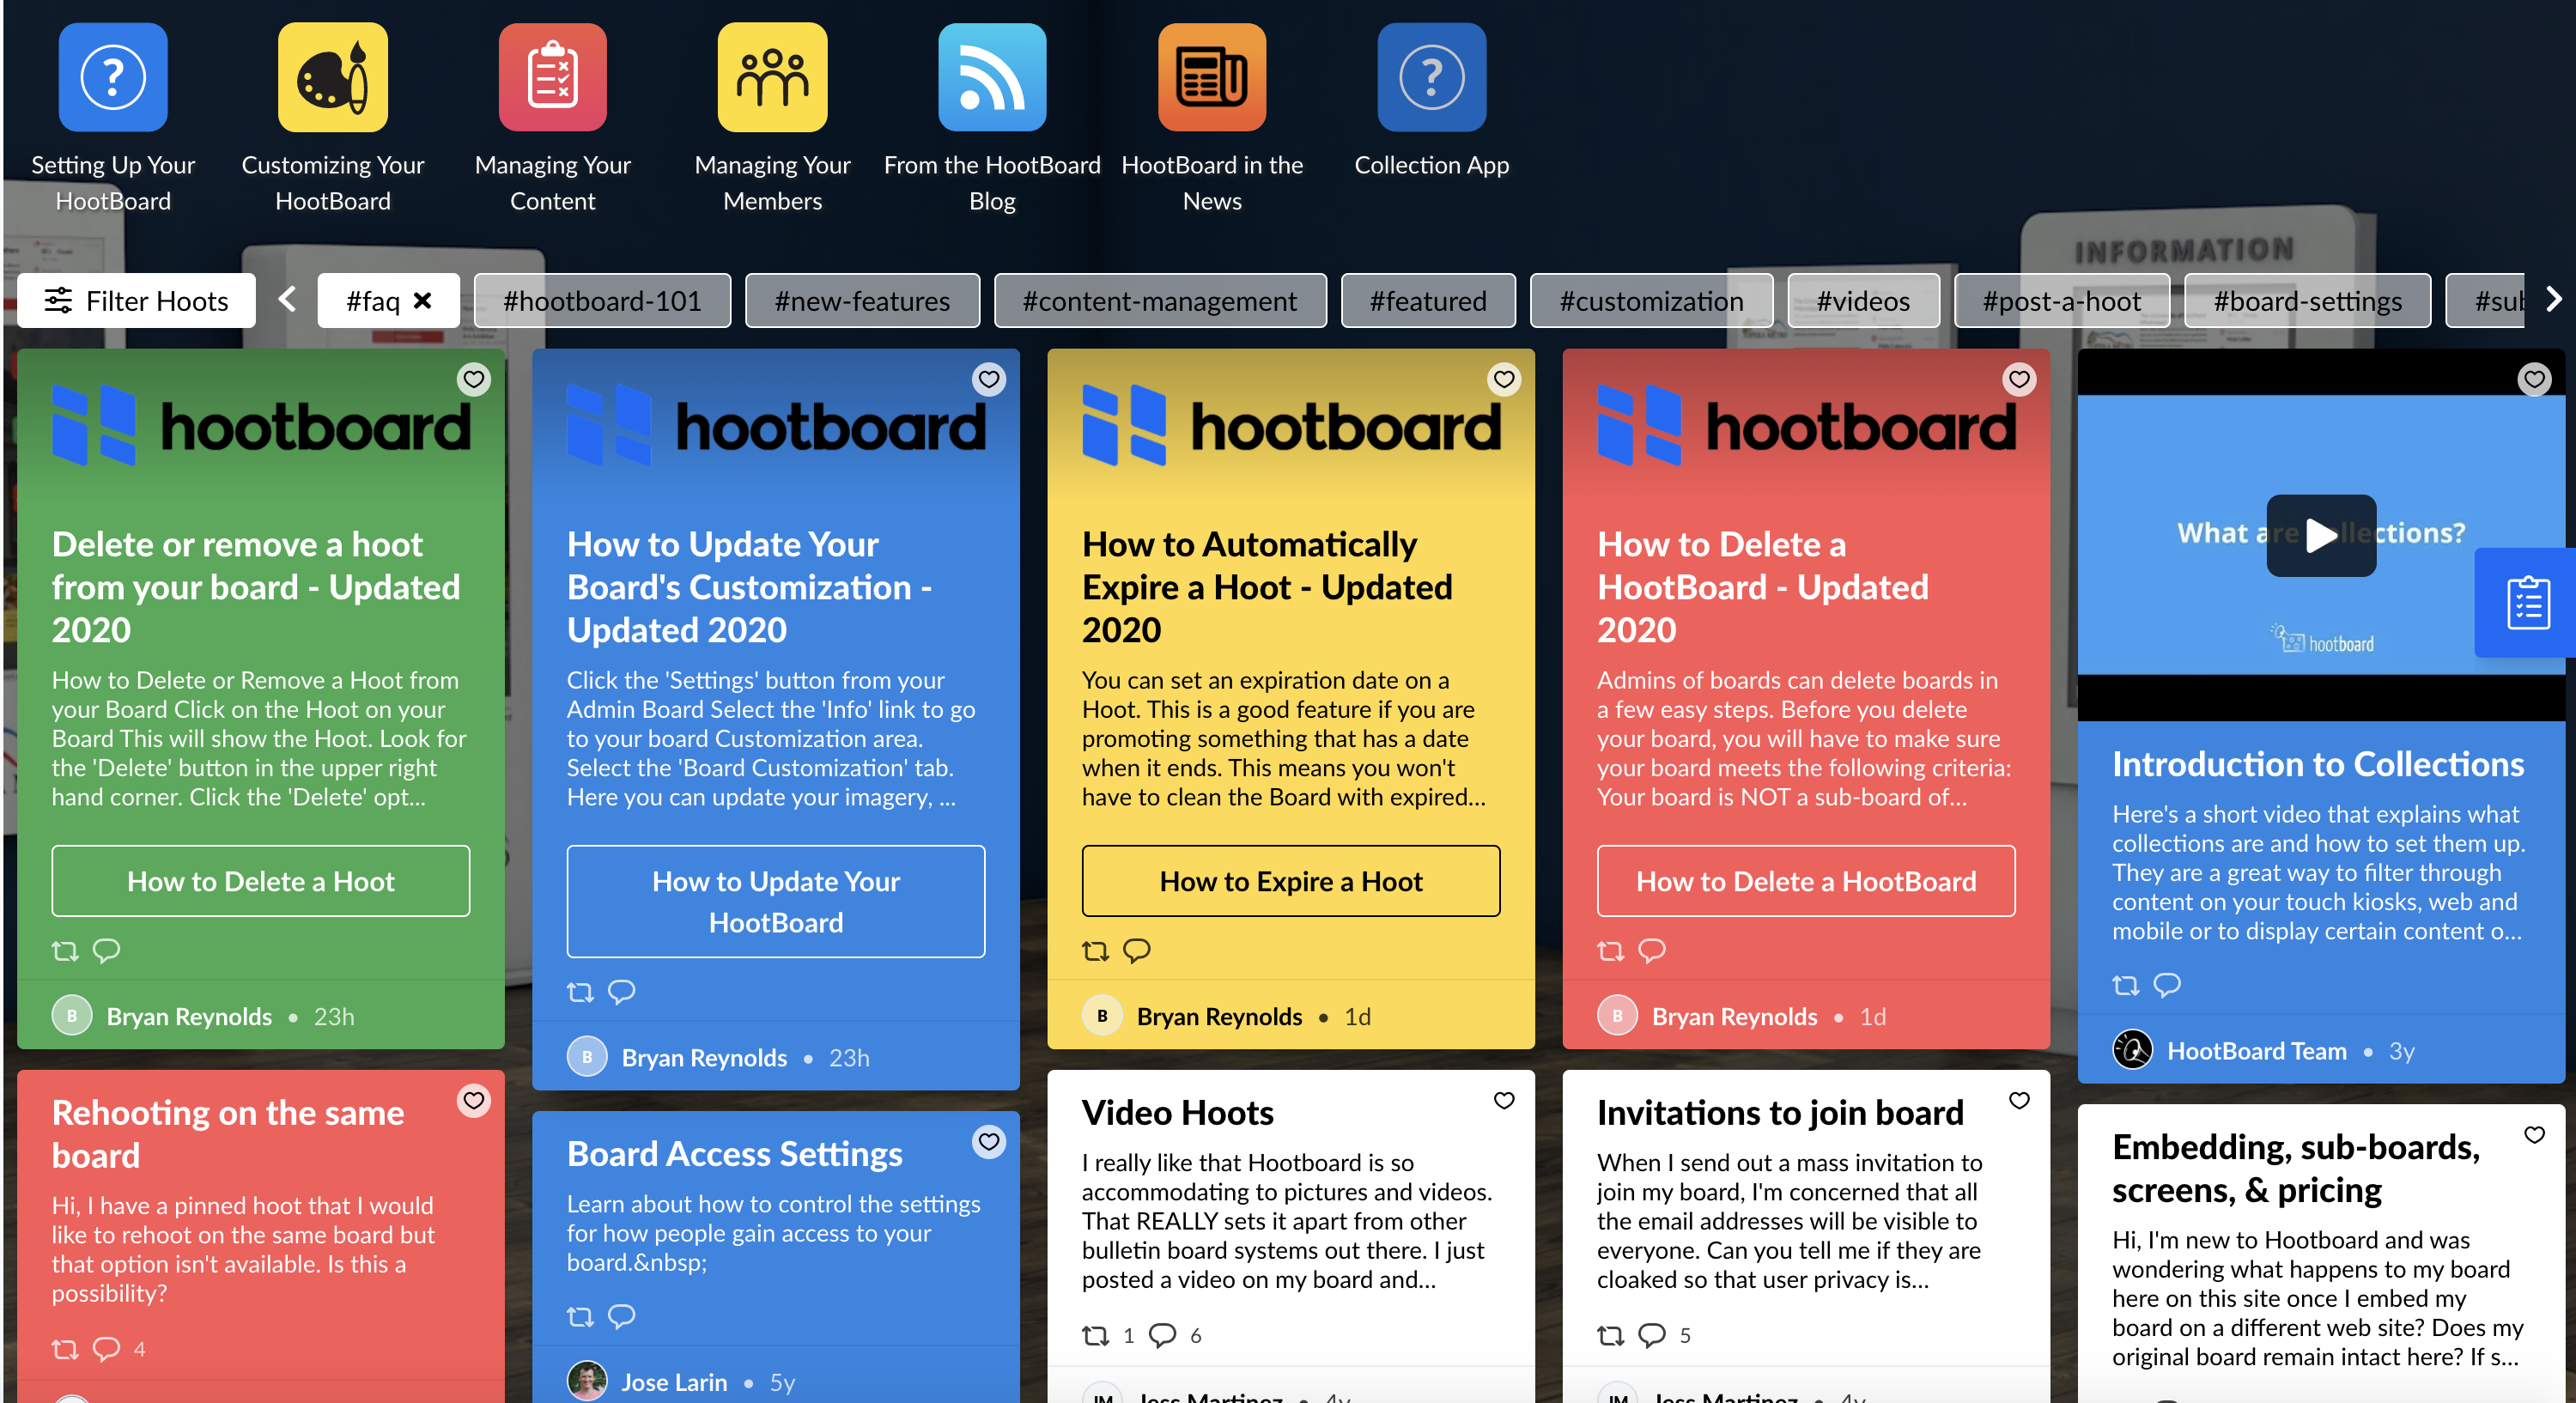
And now when We click on the app, every hoot that is organized using the #faq collection will be served.
Use the collections app feature to create an easy way to organize all of your Hoots and content in a ways that is useful. If you're a restaurant, making a 'Food Specials' app makes sense. Or if you're a Destination Tourist area, created a "Popular Businesses" collection is a good idea too. These are just examples, please feel free to explore any way you can organize your content using our easy to setup App system.
Comments
0 comments
Please sign in to leave a comment.