
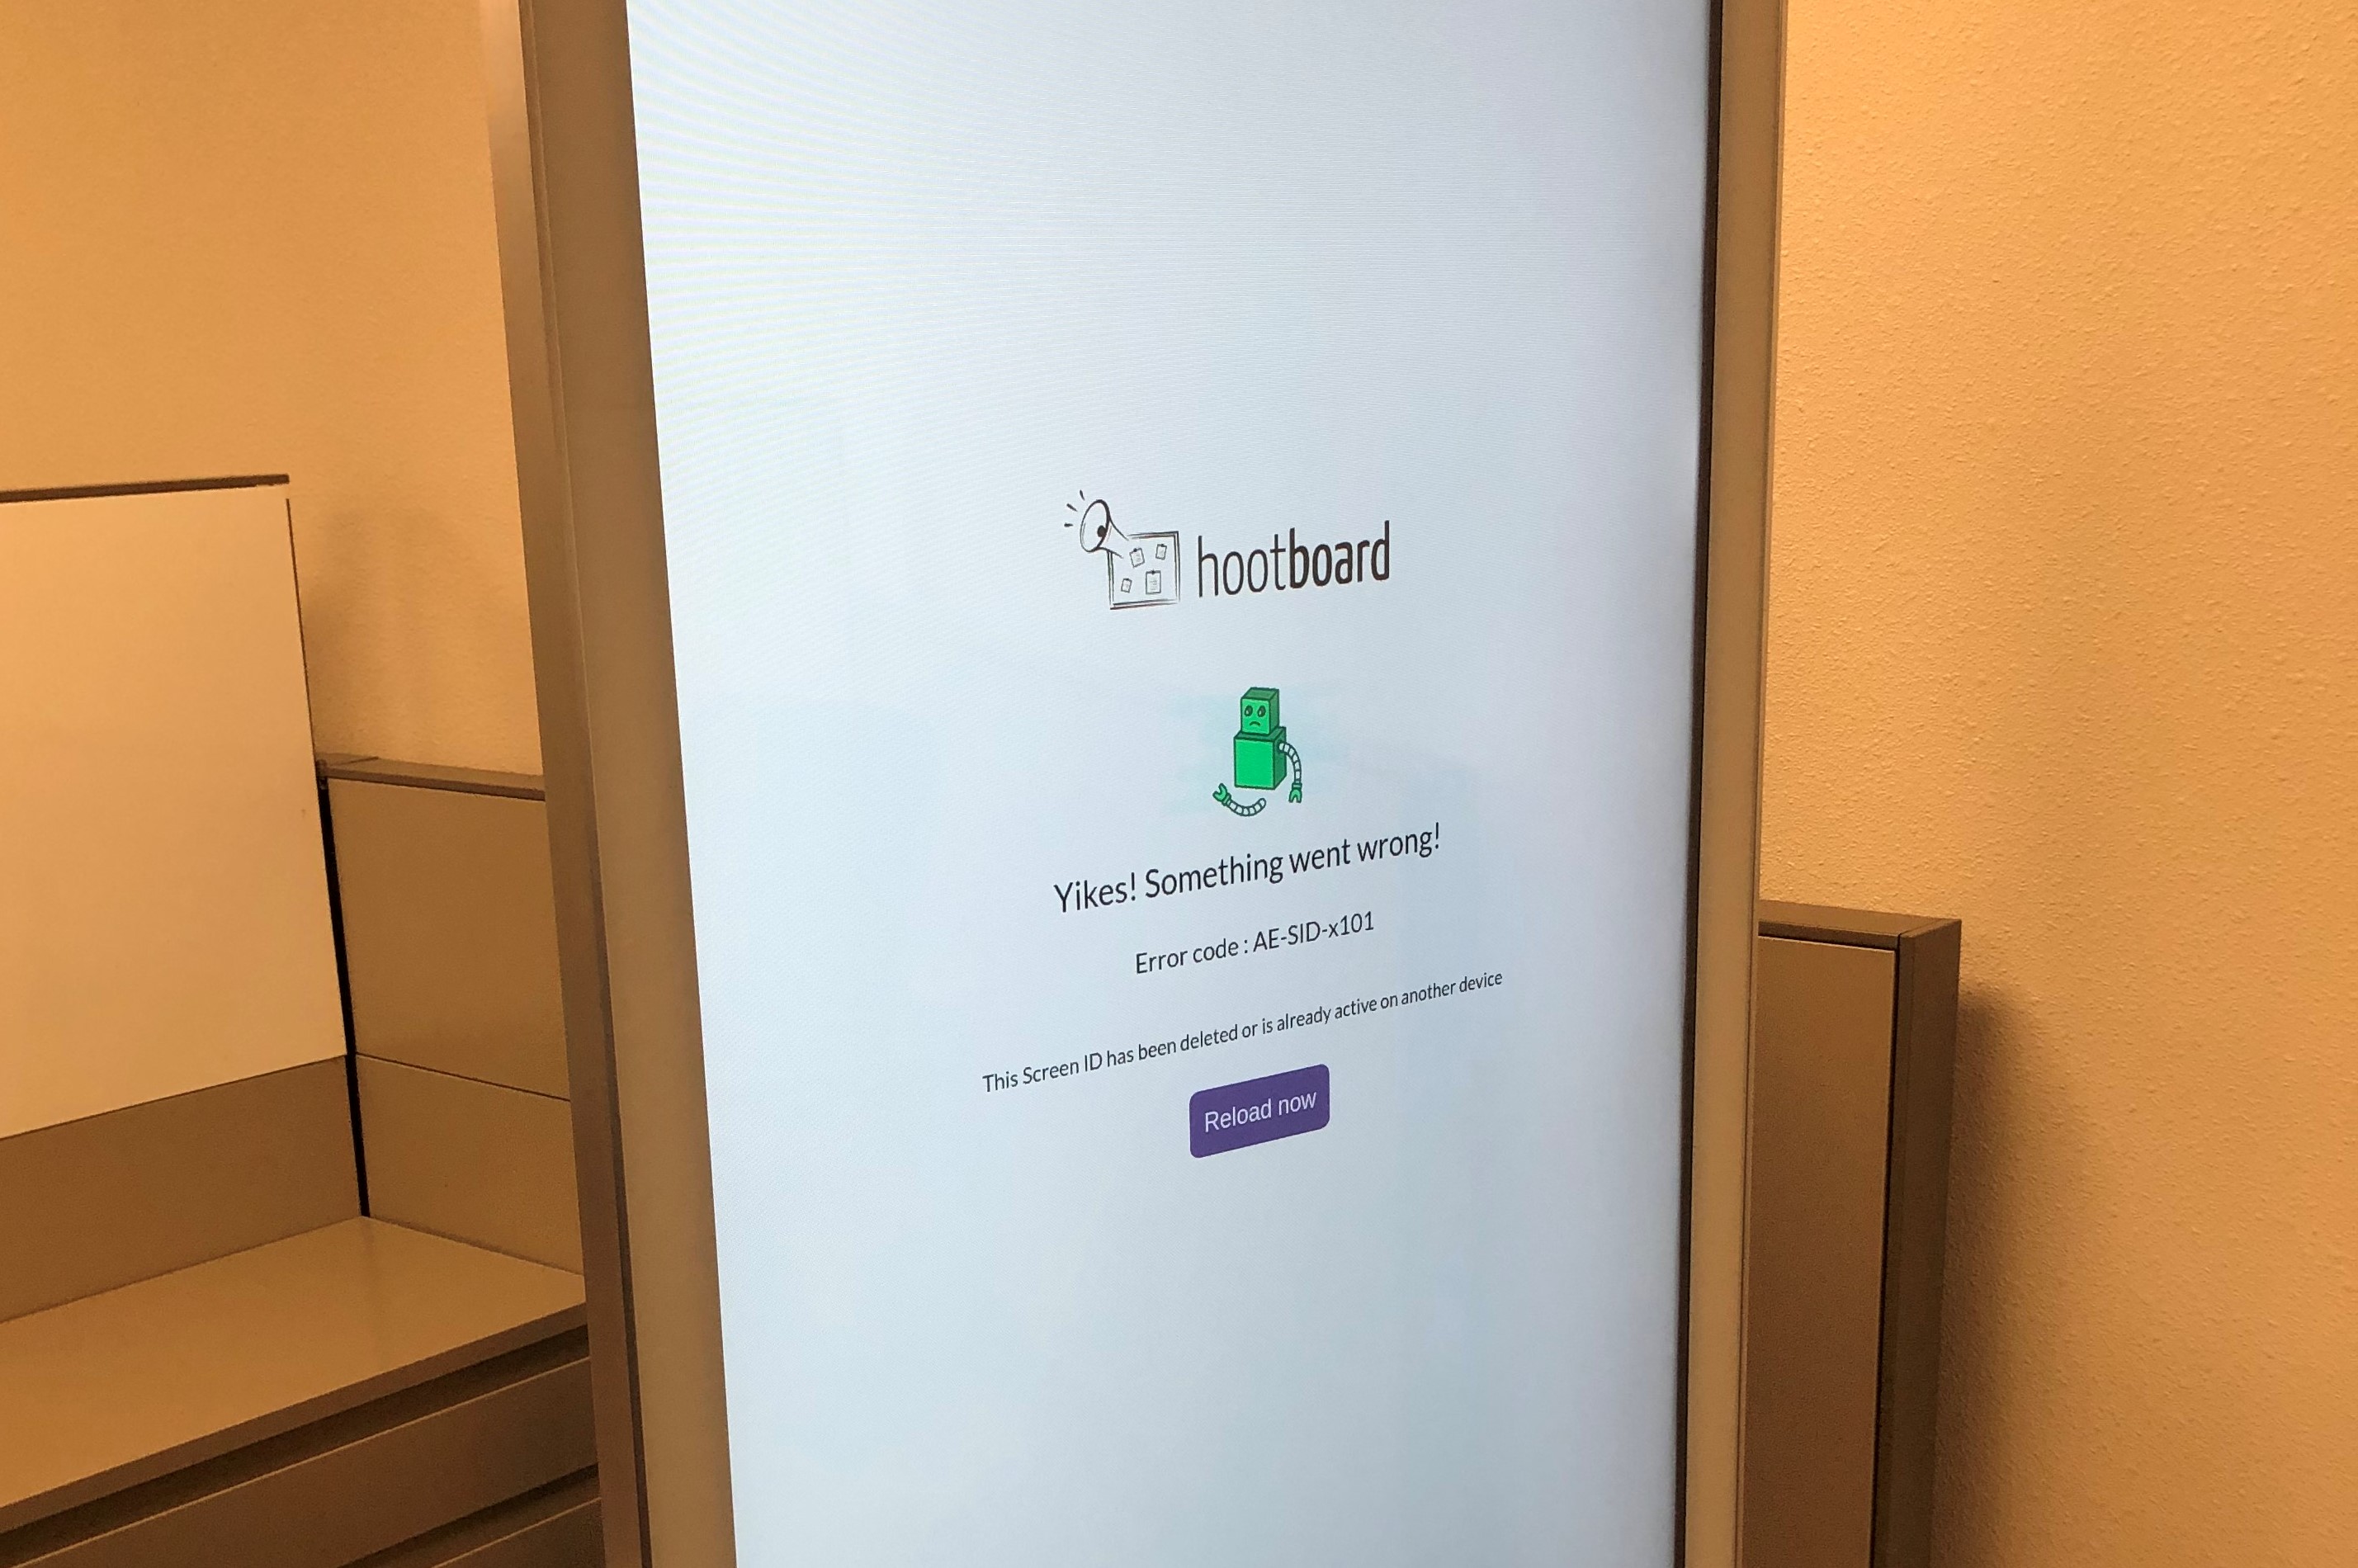
Once you create and enter a screen ID on a HootBoard ready kiosk, it is locally stored on the screen HBOS software. Whenever you restart the screen, the touch screen kiosk software always looks for the same screen id in the database and loads the screen. This is typically enough in most kiosk implementations, however, there will be some rare instances where you NEED to change the screen id on your screen. In some of these cases, you might get the following un-welcome message and restarting does not help.
Below are some of the reasons that you might have to change the screen id.
- You entered a screen id that was already used. Screen IDs can only be used once on a device. They then expire for use on any other device.
- You deleted the screen id in your web-based admin menu.
If you happen to be in this position, below are the steps you can take. These are different for Windows and Linux based HootBoard ready kiosks.
For Linux Kiosks:
Please scroll below for instructions on Windows-based HootBoard Ready kiosks.
- Connect the provided USB keyboard to your kiosk.
- On the keyboard, press CTRL + ALT + Right Arrow simultaneously.
- This will open a keypad on the screen to enter a numeric passcode. Please ask your support person for your screen OS passcode.
Important Note: Please note that this passcode cannot be entered via. the keyboard and you will have to enter it slowly using the touch interface. - Once you have successfully logged in, you shall see the following Administrator Dashboard.
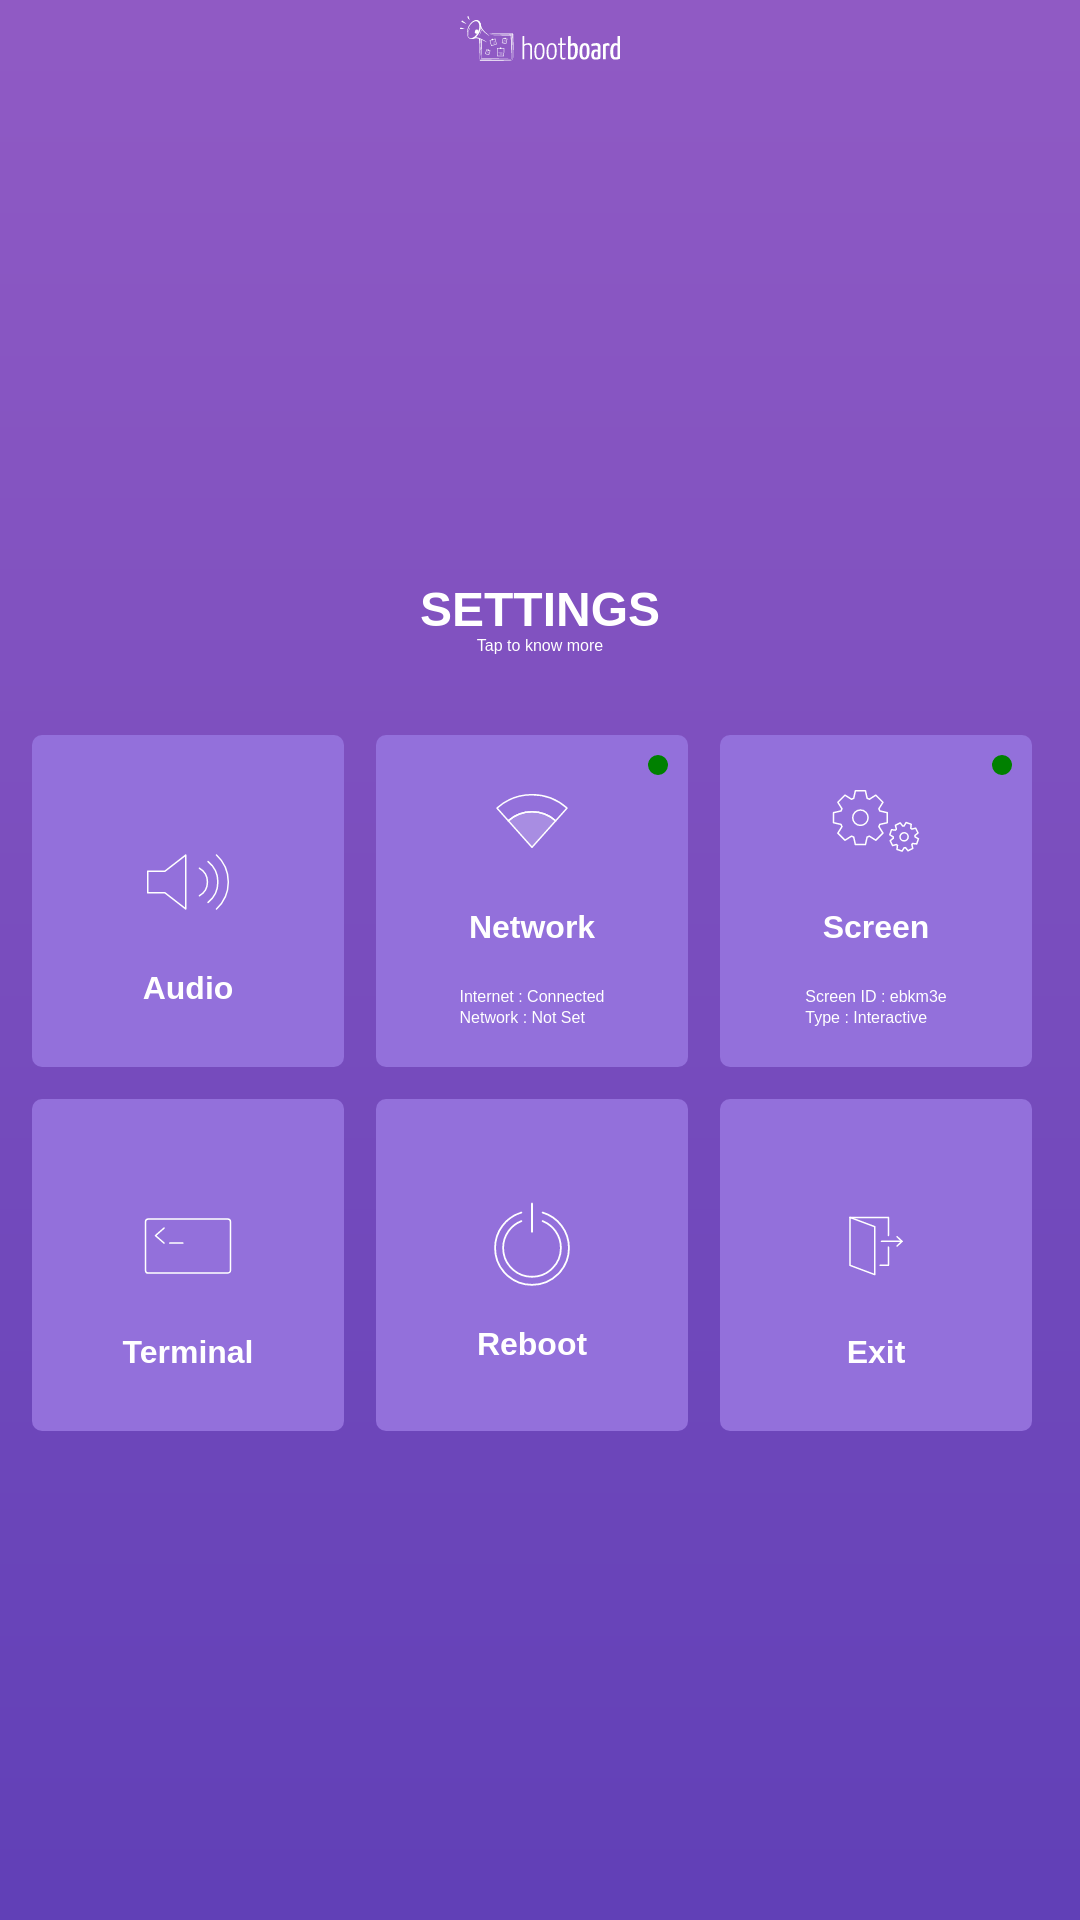
- On the admin dashboard click on Screen to receive these screen options window.
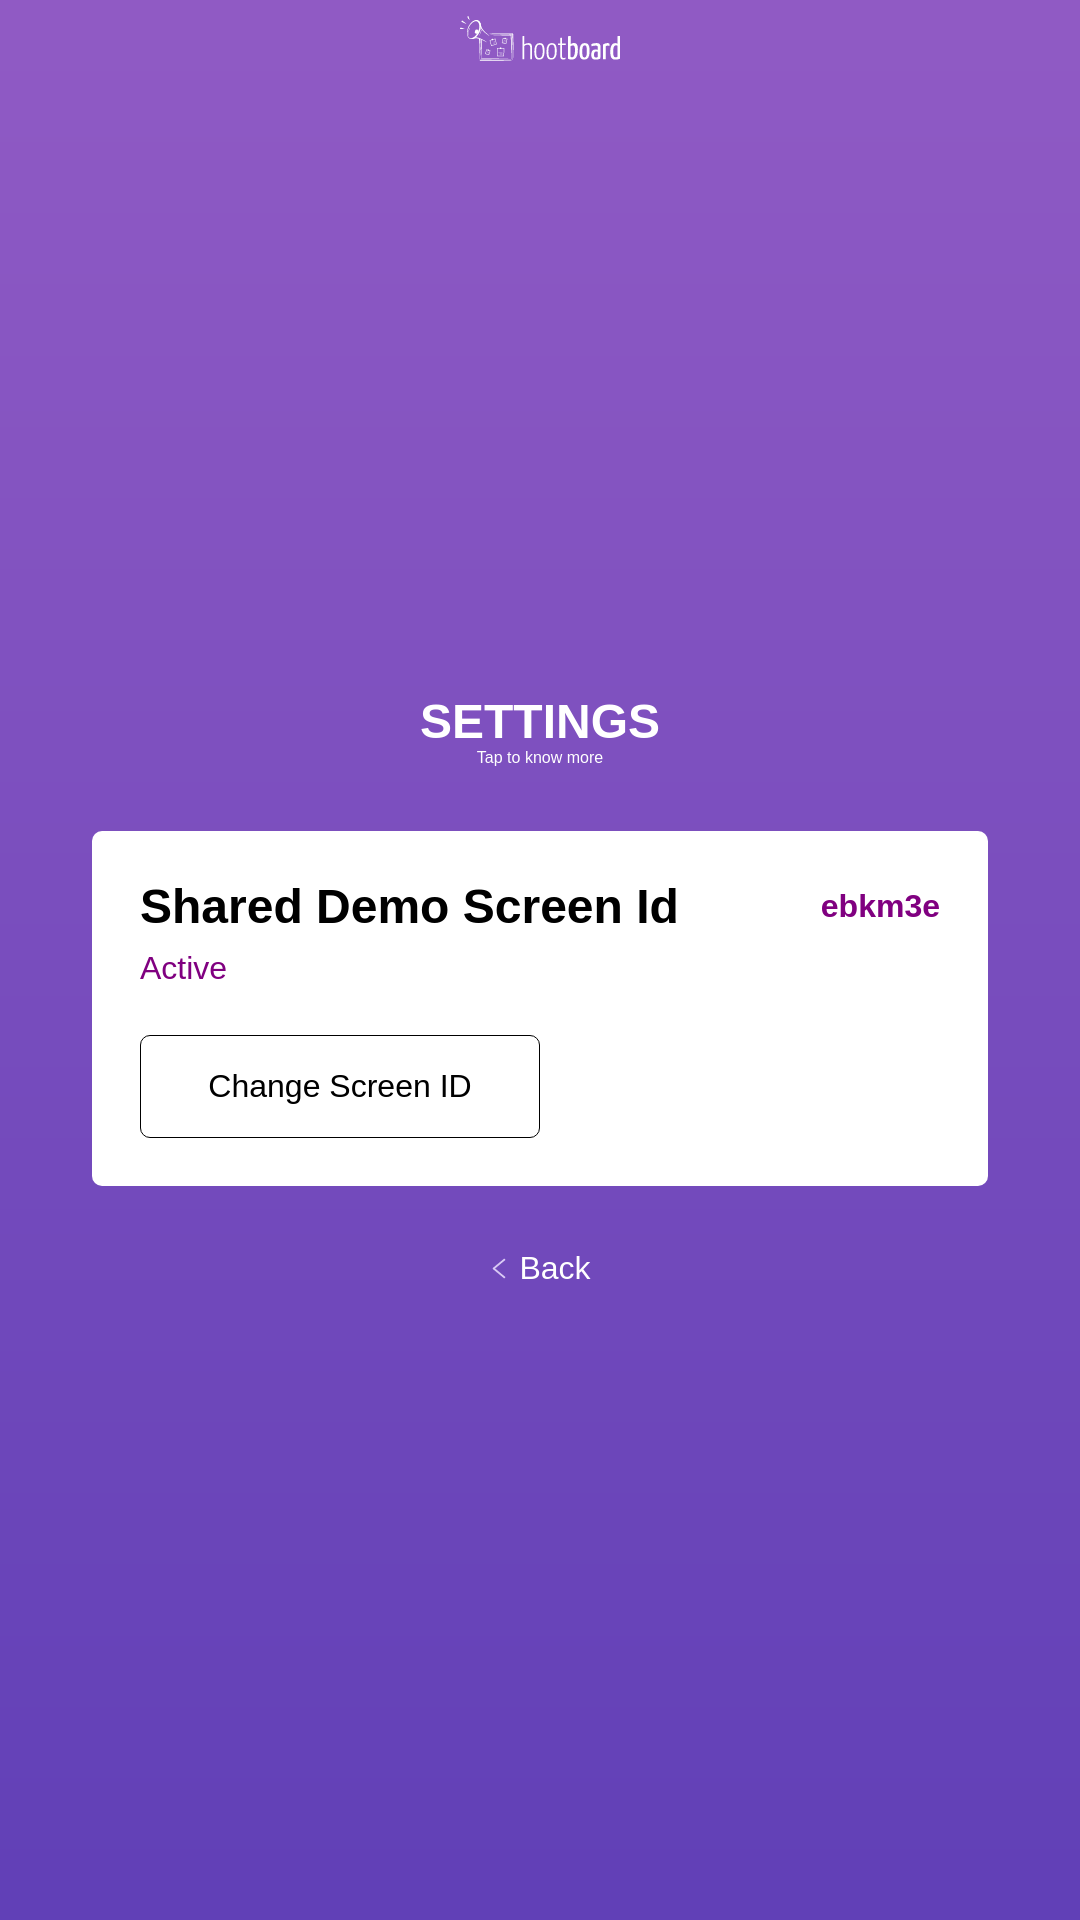
- This will have listed the current screen id that is in the memory. You can press the Change Screen Id button.
- Add the new Screen Id that you would have created from the web-based admin menu on your PC. This will delete the old screen id and save the new one. If you see the new screen id successfully recorded, press < back.
- This will bring you back to the administrator dashboard.
- Remove the USB keyboard from the USB port and then press Reboot.
- At this point, the screen will restart and shall load with your new screen id.
Optional operation via. command-line interface:
- Follow steps 1-4 above.
- Press Terminal using the touch interface. A pop-up window will open with the command line interface.
- In the command-line interface, type the following command:
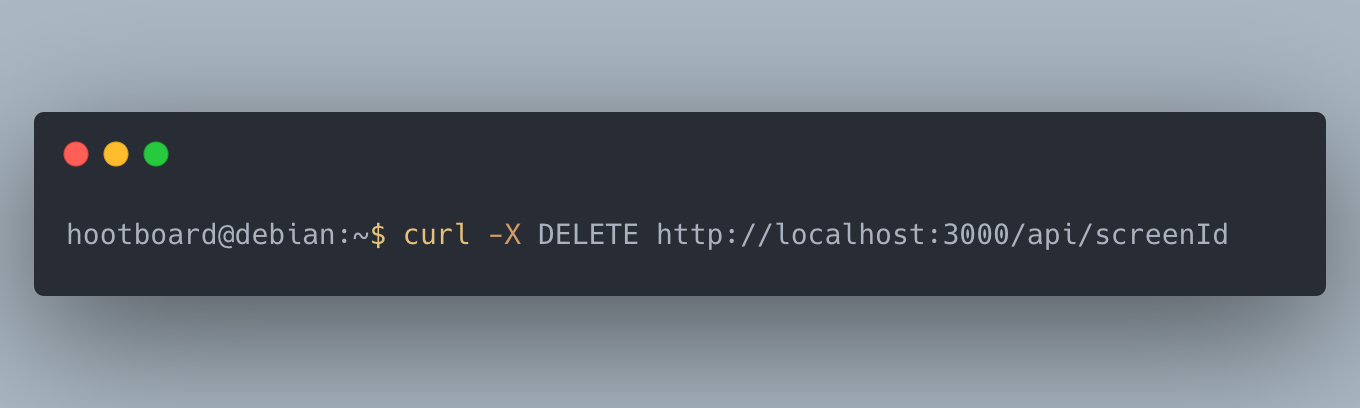
- On the next prompt type the command to reboot the screen: sudo reboot
- Quickly remove the USB keyboard from the USB port before the screen comes back up.
- Once the screen reboots, it will boot up to the original "Enter Screen ID" screen as shown below.
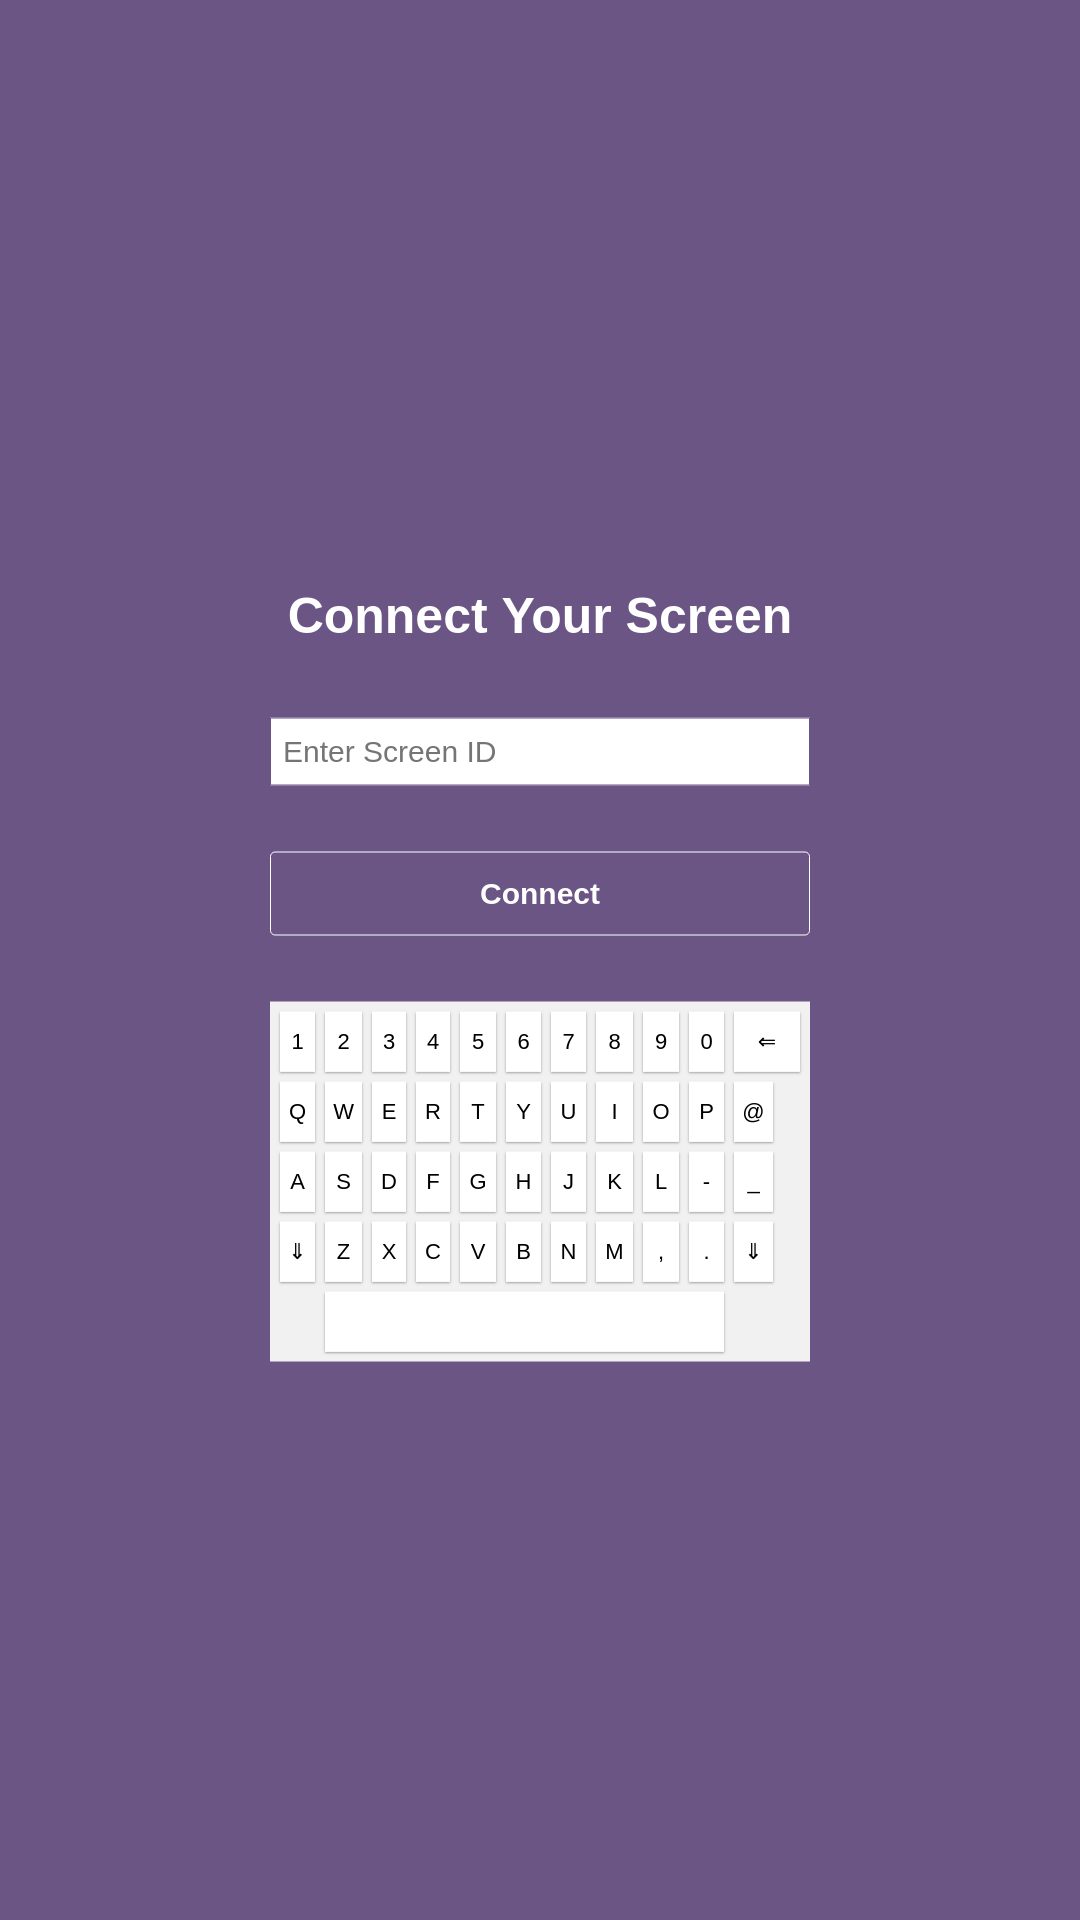
- Enter your new screen id and marvel at how amazing you are!
Windows Based Kiosks:
- Connect a USB keyboard to your Windows-based HBOS kiosk.
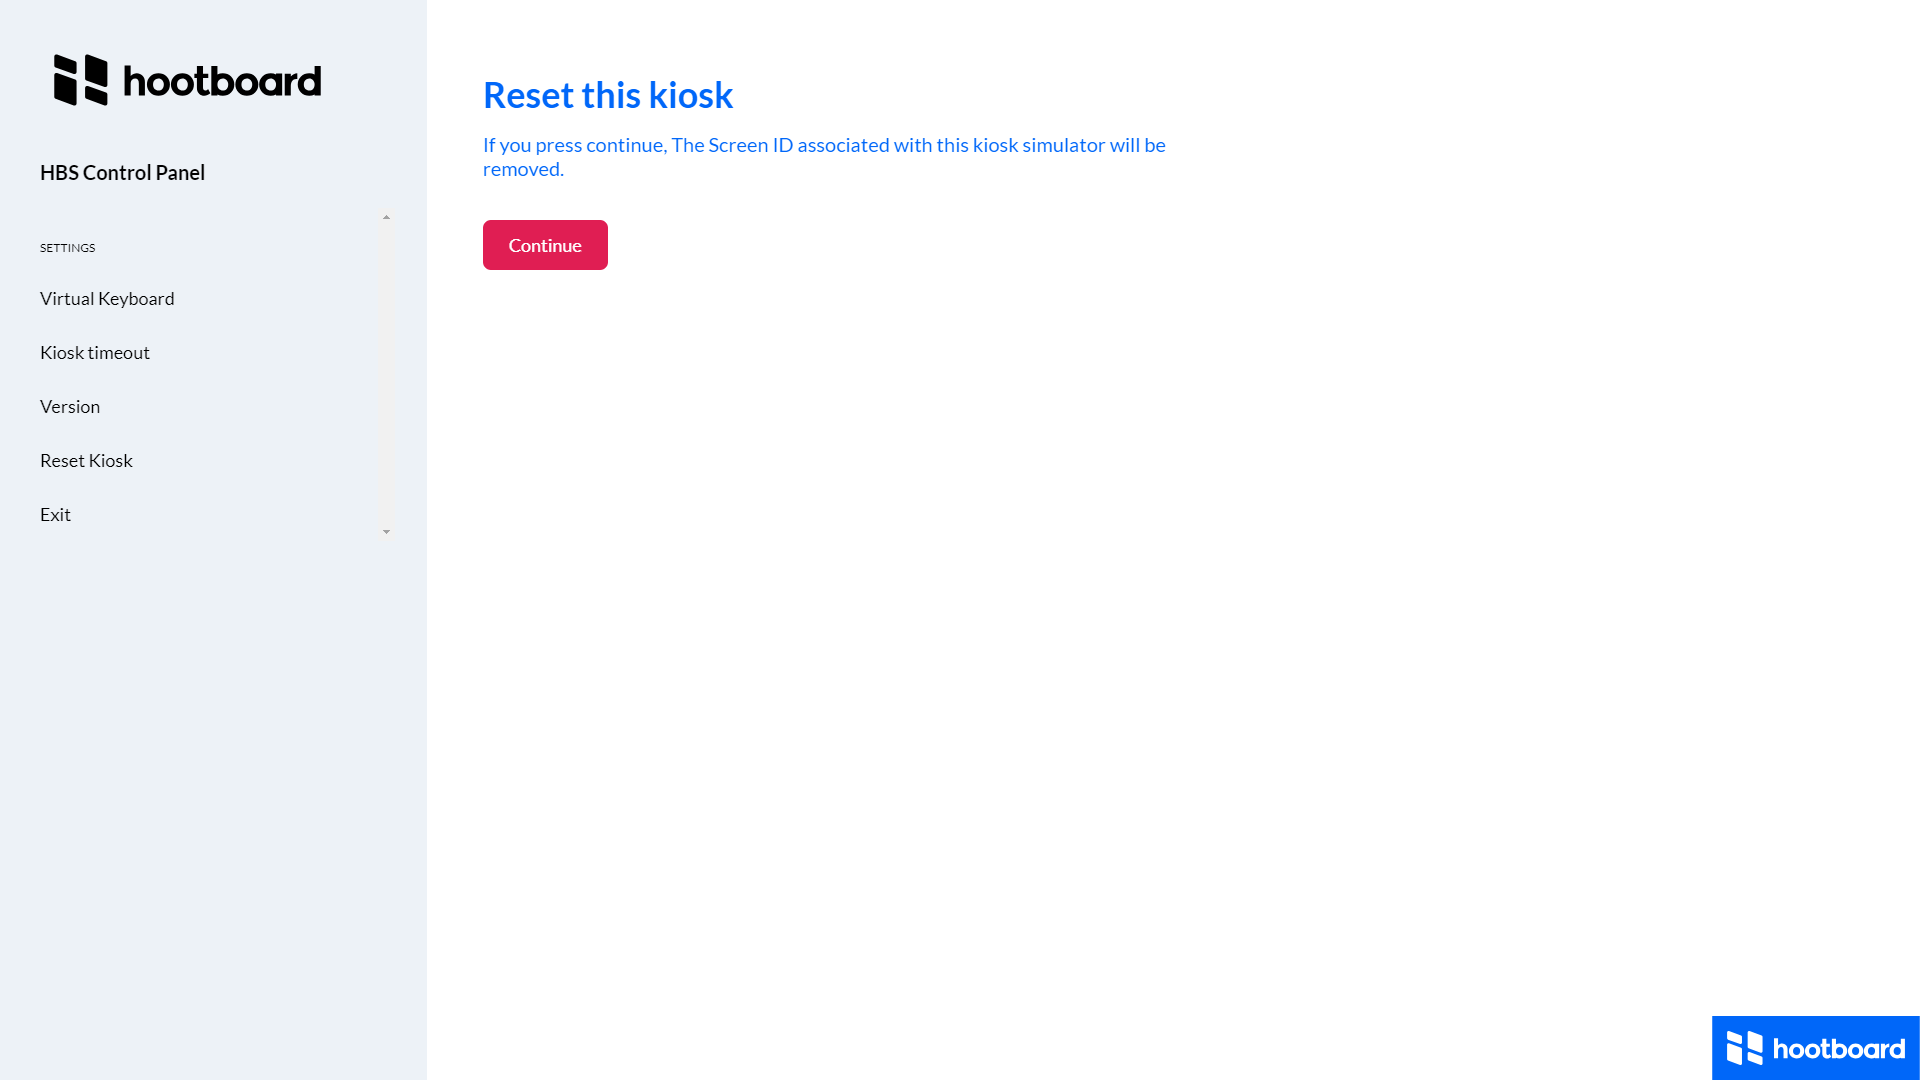
- Press CTRL + SHIFT + R simultaneously.
- You will get the menu as below. Click on Reset Kiosk and follow instructions.
Comments
0 comments
Article is closed for comments.